London’s Premier Destination for Microdermal Piercings and Implants
In the world of body art, there are piercings that follow the natural curves and folds of the body, and then there are those that defy them. The microdermal piercing belongs to this latter, revolutionary category. It is a single, luminous point of light on the surface of the skin, a gem that appears to float magically, untethered by a traditional entry and exit point. It is the art of placing jewellery on the flat planes of the body, opening up a universe of creative possibilities that were once unimaginable.
This unique and captivating aesthetic has cemented the microdermal’s status as the ultimate statement of sophisticated, high-fashion body adornment. From the delicate sparkle on a collarbone to a constellation on the back, it is a piercing that speaks of confidence and a deep appreciation for the artistry of body modification. However, this advanced procedure is not a standard piercing. It is a specialised implant that demands an exceptional level of skill, precision, and anatomical knowledge from the practitioner.
This is your definitive guide. As a premier destination for the microdermal piercing in London, we believe in empowering our clients with deep, transparent knowledge. This article will serve as your complete educational resource. We will deconstruct what a microdermal implant truly is, explore the critical importance of anatomy and placement, provide a step-by-step walkthrough of our meticulous and safe procedure, and offer an honest, in-depth guide to its unique healing journey. Our goal is to ensure your experience is safe, successful, and results in a stunning piece of art you will cherish.
microdermal piercing in London
Deconstructing the Microdermal: The Art of the Single-Point Piercing
Before you can consider getting one, it is essential to understand that a microdermal is fundamentally different from any other piercing you may have. It does not have a separate entrance and exit. It is a true “single-point piercing.”
The Anatomy of a Dermal Implant: Anchor and Top
A microdermal consists of two distinct parts that work together like a ship’s anchor.
- The Anchor (or Base): This is the part that is implanted under the surface of your skin. It is a small, flat base, typically made of implant-grade titanium, which has several small holes in it. The anchor is designed to be permanent.
- The Top (or End): This is the visible, decorative part of the jewellery that sits on the surface of the skin. It is a threaded or threadless piece that screws or pushes into a post that rises from the anchor.
The healing process involves your body’s tissue (the dermal and subcutaneous layers) growing through the small holes in the anchor. This is what “anchors” the implant in place, creating a stable, permanent base for the visible jewellery. This unique mechanism is what allows us to place jewellery on virtually any flat surface of the body, a feat impossible with traditional piercings that require a ‘pinchable’ piece of tissue. This versatility is the primary reason why the microdermal piercing London scene is so vibrant and creative.
The Fundamental Difference from Surface Piercings
It’s important to distinguish a microdermal from a traditional surface piercing. A surface piercing uses a long, staple-shaped barbell that is inserted under the skin, with two separate points emerging on the surface. While they can be used on flat areas, they are notoriously prone to migration and rejection because of the constant, uneven tension on the tissue.
A microdermal, by contrast, creates a single point of pressure. This often makes it a more stable and viable long-term option for many placements, although it comes with its own unique set of healing challenges.
The Canvas of the Body: Placement, Possibilities, and Professional Considerations
The single-point nature of a microdermal implant opens up a world of creative placements. However, this freedom is not without its rules. The most important job of a professional piercer is to guide you towards a placement that is not only beautiful but, more importantly, viable and safe for the long term.
Popular and Viable Placements: A Lookbook
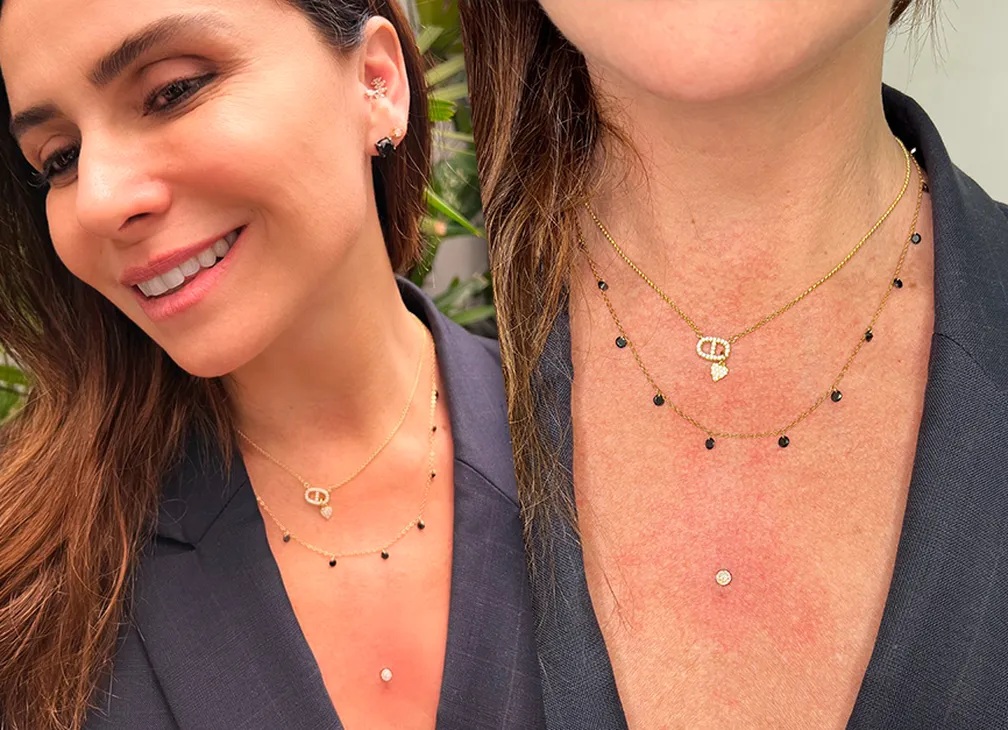
- The Collarbones (Clavicle): A single dermal just below the collarbone, or a symmetrical pair, is one of the most popular and elegant placements. It accentuates the décolletage and looks stunning with open necklines.
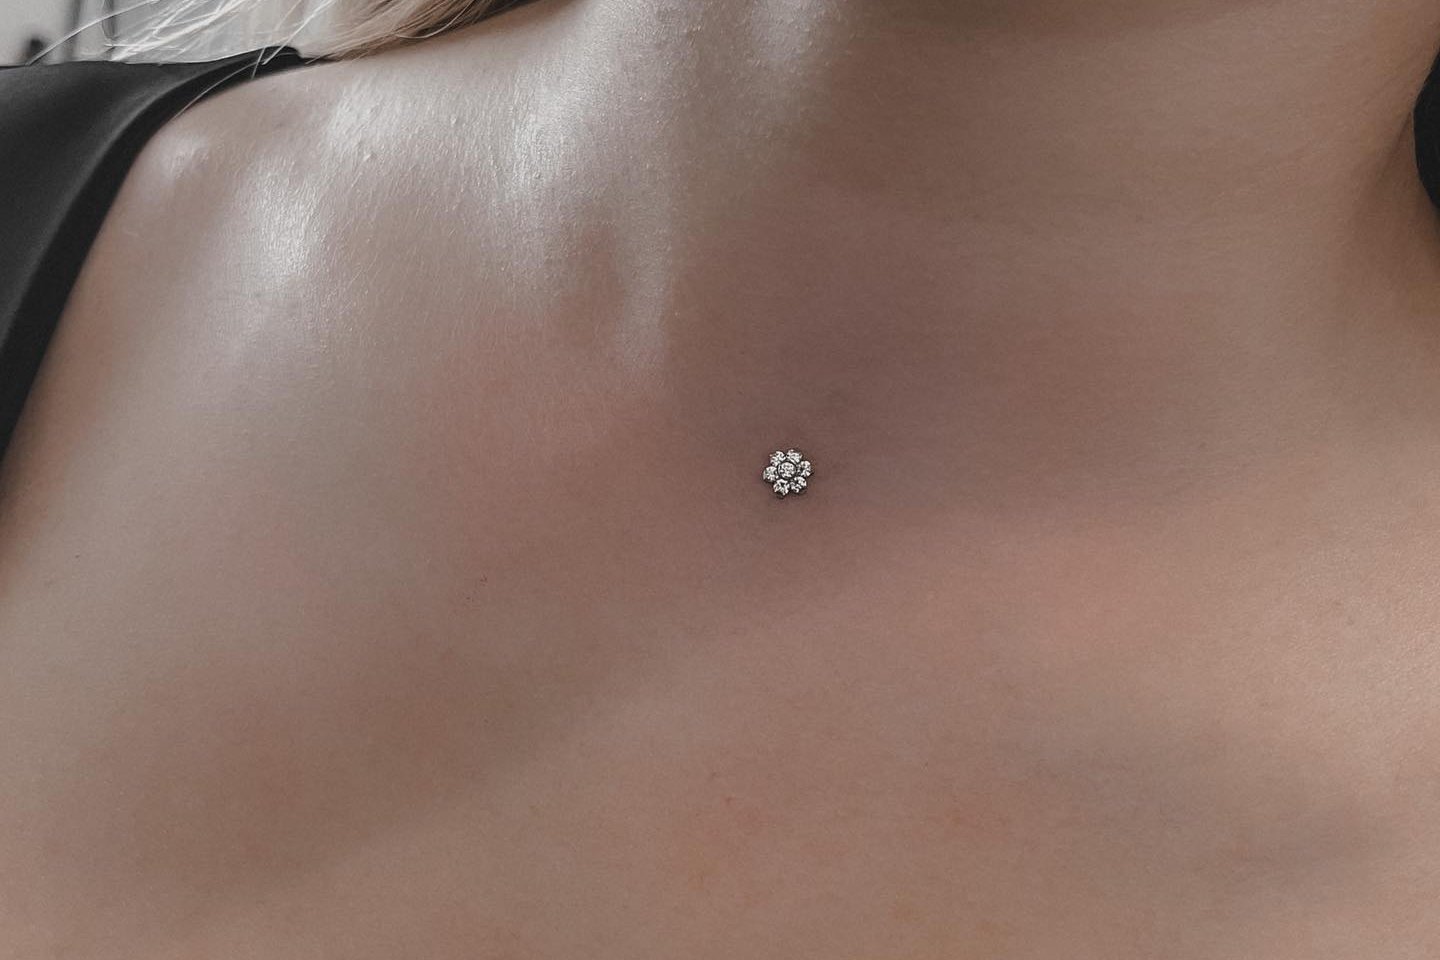
- The Sternum (Chest): A dermal placed centrally on the sternum is a classic, eye-catching placement. It can be a single statement gem or the start of a more complex vertical project.
- The Face (Anti-Eyebrow, Cheek Dimples, Forehead): Facial microdermals are a bold and high-fashion statement. An “anti-eyebrow” places a dermal on the upper cheekbone, below the eye. Dermal anchors can also be used to mimic cheek dimples or create a “third eye” effect on the forehead.
- The Back Dimples (Dimples of Venus): Placing a dermal implant in each of the natural indentations on the lower back is a sensual and beautiful option that accentuates the body’s natural curves.
- The Neck and Nape: The back of the neck (nape) is a popular spot for a single dermal or a vertical line of them.
- Integration with Tattoos: Microdermals are a fantastic way to add a three-dimensional element to a large tattoo. A sparkling gem can be placed as the eye of a tattooed animal, or a constellation of dermals can be added to a celestial-themed sleeve.
microdermal piercing in London
The Professional Veto: Unsuitable Placements and Why We Say “No”
The most important service a professional piercer provides is an honest consultation, which sometimes means advising against a certain placement. A microdermal piercing London needs to survive the London lifestyle. We will not perform a dermal in an area where it is almost certain to fail. Unsuitable areas include:
- Areas of High Movement and Flexion: This includes hands, fingers, feet, and joints like the elbow or knee. The constant movement and stretching of the skin in these areas will prevent the anchor from ever settling and will lead to rapid rejection.
- Areas with High Friction: This is a critical consideration.
- The Abdomen: Constant friction from the waistband of trousers or jeans makes the stomach a very high-risk area.
- Under Bra Straps: A dermal placed directly under a bra strap or band is doomed to fail due to the constant pressure and rubbing.
- Shoulder/Seatbelt Zone: A dermal placed on the front of the shoulder where a handbag strap or a car seatbelt rests will be chronically irritated.
An ethical piercer will have a detailed conversation with you about your lifestyle, your clothing choices, and your daily activities before agreeing to a placement. This ensures your piercing is set up for success from day one.
The Procedure: A Guide to the Specialised Dermal Implant Process
Getting a microdermal is a more involved procedure than a standard piercing. It requires specialised tools and a specific technique that should only be performed by an experienced and well-trained professional.
Finding Your Specialist: Why Experience is Non-Negotiable
The technique for inserting a dermal anchor is completely different from that of a standard piercing. It is not a skill that a general piercer can simply “pick up.” It requires specific, hands-on training from a mentor who is an expert in the procedure. When you are looking to get a microdermal piercing London, it is essential that you seek out an artist who can show you a deep and confident portfolio of healed microdermal work. Their experience is your greatest asset.
The Tools of the Trade: Dermal Punch vs. Piercing Needle
There are two primary professional methods for creating the small pocket in which the anchor will sit.
- The Dermal Punch: This is the more common and often preferred method. A dermal punch is a small, circular blade (like a tiny cookie cutter) that quickly and cleanly removes a tiny circle of tissue.10 This creates a perfect, round pocket that is the exact size needed for the anchor’s post. It is an extremely fast and efficient method.
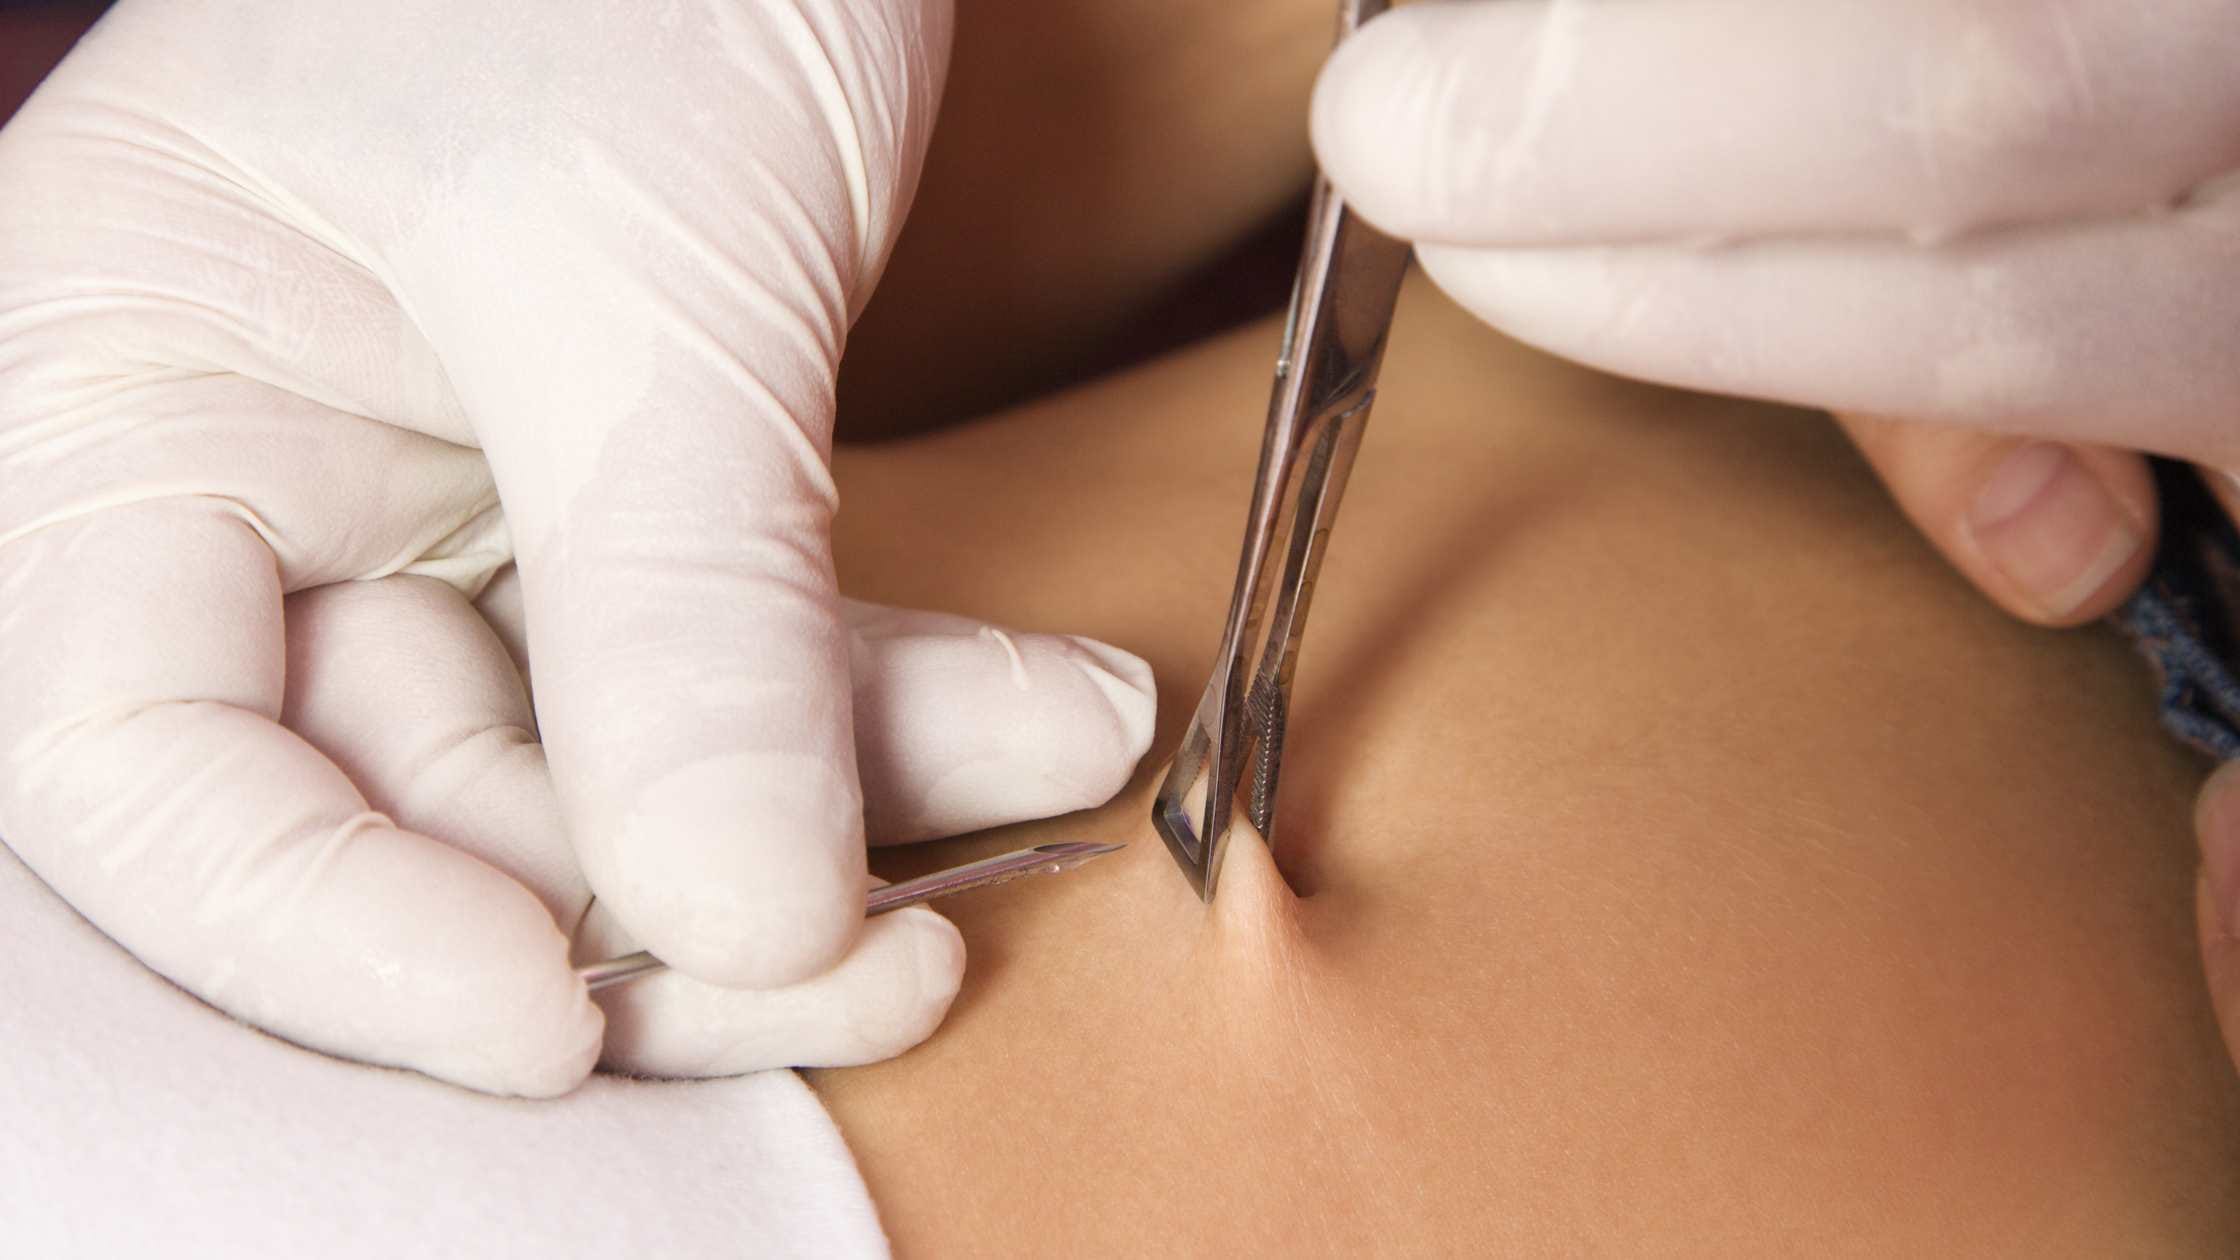
- The Piercing Needle: An alternative method involves using a large-gauge piercing needle to create an L-shaped separation in the tissue, forming a pocket for the anchor to be inserted into.
Both methods are valid in the hands of a skilled professional. The choice often comes down to the piercer’s preference and the specific location on the body.
A Step-by-Step Walkthrough of the Procedure at Our Studio
- The In-Depth Consultation and Marking: Your appointment begins with a final confirmation of your anatomy and a discussion about placement. The piercer will thoroughly disinfect the area and, using a sterile skin marker, place a small dot. You will be shown this mark in a mirror for your 100% approval.
- The Sterile Setup: You will lie down comfortably. The piercer will set up a clinical-grade sterile field with all their single-use equipment, including the dermal punch or needle, sterile gloves, and the pre-sterilised dermal anchor and top.
- Creating the Pocket: This is the quickest part of the procedure. Whether using a punch or a needle, the creation of the pocket takes only a second or two. You will feel a brief, sharp, and intense pressure.
- Inserting the Anchor: The piercer will then use specialised forceps or a tool called a dermal anchor holder to carefully insert the base of the implant into the newly created pocket, ensuring it is sitting perfectly flat and flush under the skin.
- Securing the Top: The decorative top is then carefully screwed or pushed into the anchor’s post.
- The Dressing: The area is cleaned one final time, and a small, sterile dressing (often a simple plaster) is applied. This dressing should be kept on for the first 24-48 hours to help secure the anchor in place as the initial healing begins.
microdermal piercing in London
An Honest Assessment of the Pain
Most clients describe the sensation as a very quick, intense pressure rather than the sharp pinch of a traditional piercing. The pain level is often rated at a 4-6 out of 10, but it is extremely brief. The area may have a dull ache for a day or two afterwards, but it is generally considered to be a very manageable procedure.
The Healing Journey: Patience and Protection are Key
Healing a microdermal is a unique process. It is less about cleaning and more about absolute protection from physical trauma.
The Healing Timeline: Settling and Anchoring
- The Initial Phase (First 2-4 weeks): During this time, the piercing is at its most vulnerable. The anchor is not yet secured by new tissue. The area will be red, swollen, and tender. Your primary goal is to protect it from being snagged or bumped at all costs.
- The “Nesting” or “Settling” Phase (Months 1-3): You will notice the jewellery appearing to sink slightly and sit more flush with the skin. This is a great sign! It means the skin is healing snugly around the post and the anchoring process is beginning.
- Full Maturation (3-6 Months+): After a few months, your piercing will likely look and feel healed. However, the process of the tissue fully integrating with the anchor can take much longer. You should consider the piercing “delicate” for at least the first year.
Microdermal Aftercare: A “Less is More” Approach
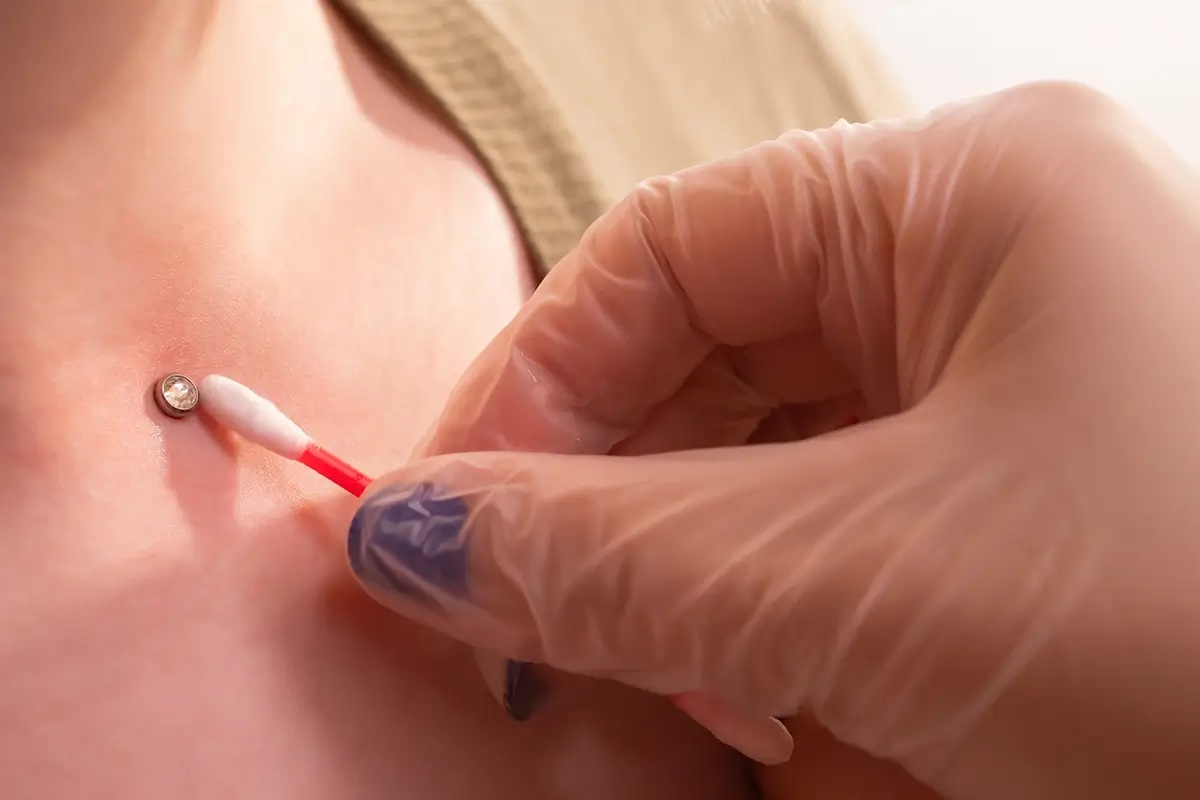
- Keep it Dry: For the first week, try to keep the area as dry as possible, cleaning only with a sterile saline solution spray as needed.
- Gentle Cleaning: After the first week, a simple routine of letting warm water run over it in the shower and then cleaning with sterile saline is sufficient. Do not attempt to clean “under” the top.
- Drying is Crucial: Moisture is the enemy of a happy microdermal. After cleaning or showering, you must dry the area thoroughly by gently patting it with a clean paper towel or, even better, using a hairdryer on its lowest, coolest setting.
- The Biggest Rule: DO NOT SNAG IT. Snagging the piercing on clothing, towels, or loofahs is the number one reason that microdermals fail. You must become incredibly mindful of the piercing’s presence on your body.
Understanding Rejection: The Primary Risk
The biggest risk with any microdermal piercing London is rejection. This is when the body, often due to trauma or placement in a high-movement area, slowly pushes the anchor up and out of the skin.
- Signs of Rejection: The anchor will start to become visible or raised on one side, the surrounding skin may become thin, red, and flaky, and the piercing may feel chronically irritated.
- What to Do: If you suspect your dermal is rejecting, you must see a professional piercer. Do not wait. We can assess it and, if it is rejecting, remove it for you cleanly. Leaving it in can result in a more significant scar.
microdermal piercing in London
Frequently Asked Questions (FAQ)
1. Are microdermal piercings permanent? Can they ever be removed?
They are considered “long-term temporary” rather than truly permanent. A healthy, well-placed dermal can last for many, many years. However, they can be removed. Removal is a simple procedure that should be performed by a professional piercer. It involves making a tiny incision and using a tool to gently free the anchor. It typically leaves a very small, minimal scar.
2. How do you change the top on a microdermal? Can I do it myself?
We strongly advise having a professional piercer change your top for you, especially for the first few times. The anchor can be dislodged by improper twisting. A professional has tools to hold the anchor steady while unscrewing the top.11 Once you are very familiar with how it feels, you may be able to change it yourself, but the risk of losing the top or upsetting the anchor is always there.
3. Will my microdermal set off airport security scanners?
No. The implant is made of a tiny amount of non-ferrous titanium. It is far too small to be detected by standard airport metal detectors.
4. Can I have an MRI scan with a microdermal implant?
You must inform your radiologist that you have a dermal implant. Because it is made of certified implant-grade titanium, it is non-magnetic and is generally considered MRI-safe. However, it can create a small “artifact” or distortion on the image if it is in the direct area being scanned. In some cases, a doctor may require the top to be removed.
5. How much does a high-quality microdermal piercing cost in London?
Due to the specialised tools and technique required, a microdermal is an advanced procedure. In 2025, you should expect to pay a service fee of around £50-£80 for a microdermal piercing London, plus the cost of the initial implant-grade titanium anchor and top, which typically starts around £30-£45.